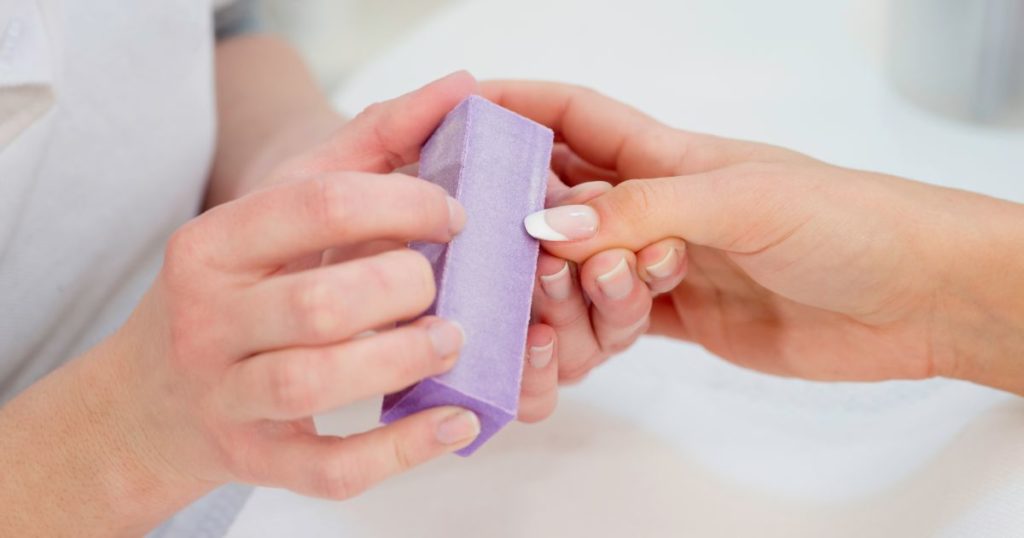
Nail buffers are an important part of your DIY arsenal. Whether you’re cleaning up your fingernails or toenails or giving yourself the perfect manicure, your DIY nail arsenal is incomplete without it.
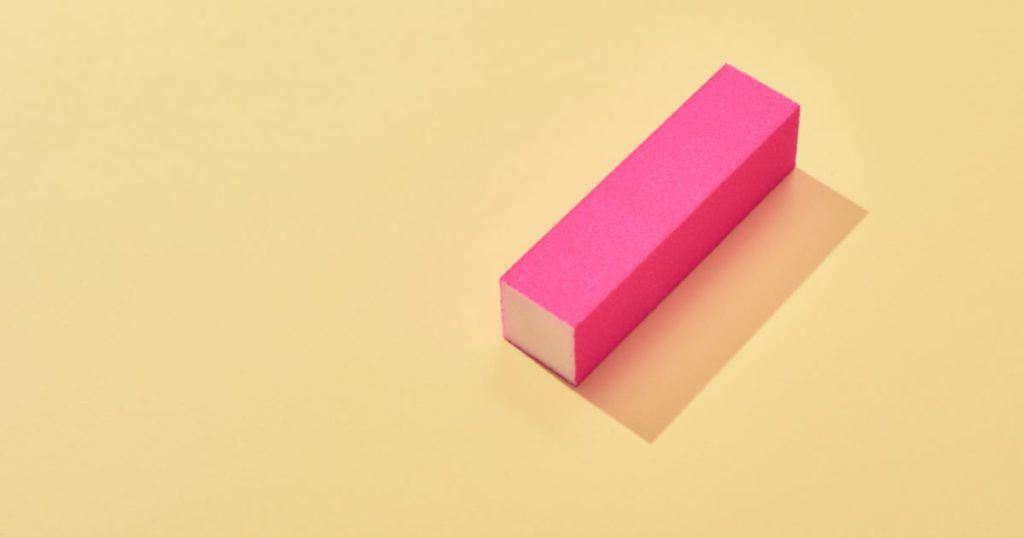
As the name implies, a 4-way buffer has four different surfaces. Each one has a specific purpose. From smoothing your nails and making them glossy and healthy to adding a nice finish to your nails.
In this article, we will answer “How do you use a 4-way nail buffer?” It’s a lot easier than you think. Stay right there!
How Do You Use a 4-Way Nail Buffer?

Using a 4-way nail buffer is simple, but you must know your way around the tool first. The four sides all provide different grit levels, which help you achieve your desired nail finish.
A 4-way nail buffer is a great tool to smooth the surface of your nails. This tool contains everything you need to give your nails the smooth look they deserve. Once you use a 4-way nail buffer, you’ll never want to go back. 4-way nail buffers are hands down one of the best tools for DIY manicures.
Your nails will show off their natural beauty, and you won’t have to worry about those ridges getting snagged by your outfit!
Nail buffers help achieve the perfect manicure look. Each has a different level of coarseness. The surfaces are numbered one through four and color-coded for easy identification:
Surface One – Coarse Grit
The first surface on a 4-way nail buffer is the coarse grit surface. It’s used for filing and shaping nails.
Most 4-way nail buffers will indicate the side to use for what. So, if you have long nails that need to be trimmed, Surface One can help carve them into your desired length and shape.
It can also remove the unevenness of nails through unidirectional strokes.
Hold the buffer at a 45-degree angle to use this surface, and gently file your nails in one direction. Avoid filing back and forth, because the nails may weaken and split from the coarseness.
Surface one removes ridges, bumps, and inconsistencies on your nails. Sideward strokes can help achieve a beautiful curve, like an oval nail shape. Just do it gently.
Surface Two – Medium Grit
Next is the medium grit surface. It’s also color-coded, but there are different colors, so this is not a big deal.
The medium grit is for the ridges and bumps on the nails. If we’re dealing with uneven and bumpy nails here, the second surface will create a smooth surface for polishing if you do it right.
The correct way to use this surface is by holding the buffer at a 45-degree angle. Gently move over your nails. Apply some pressure but don’t buff too hard, or you’ll damage the nails.
Surface Three – Fine Grit
This surface is smoother and finer than Surface Two. It gives your nails a glossy finish. It’s your friendly nail buffer if you want to keep your nails (skipping nail art or even nail enamel).
It’s for a finer finish, although using the last surface will give the best results. Nevertheless, you can also use surface three’s level of coarseness to achieve glossy nails.
Hold the buffer block at a 45-degree angle to use this surface. Move it over your nails with light and smooth strokes.
Surface Four – Super Fine Grit
This is the finest grit surface. It gives your nails the perfect finish. If you want your nails to shine as they’ve just been polished, this surface can help achieve that.
Hold the buffer at a 45-degree angle and gently move it back and forth over your nails for a smooth finish. It removes nail surface irregularities. Its super-fine grit seals the shine and gives the nails a professional finish.
After using all four sides, your nails will take on a beautiful and amazing shine. Beautify your nails with nail polish as the final touch. You can apply traditional nail polish. Then, top off by applying nail & cuticle oil.
If you want to maintain clean, polish-free nails, use the file on nails once in two to three weeks. That way, your nails look their best.
How to Use a 4-Way Nail Buffer Like A Pro

Since you already know how to use each surface on a 4-way nail buffer, these additional tips will help you buff your nails like a pro:
- Be gentle: Being gentle when using a nail buffer is essential to avoid damaging the nails. Don’t press too hard, so your nails don’t weaken and split, which causes breakage.
- Move in one direction: When buffing your nails, use unidirectional strokes instead of moving back and forth. Buffing back and forth can cause the nails to weaken and split.
- Don’t over-buff: You may enjoy the process so much that you end up over-buffing. Don’t make this mistake because it can weaken your nails.
Buff until you get your desired result, then stop.
- Use the right surface: Each surface on a 4-way nail buffer has its function, so always use the right surface for the task. For instance, using the coarse grit surface to smooth ridges on the nails does more harm than good. The medium surface gives a better result.
- Take care of your buffer: After each use, clean your 4-way nail buffer to remove debris and buildup from your nails. Use a soft-bristled brush to clean the buffer gently, then wipe it down with a damp cloth.
- Use a cuticle oil: You can use cuticle oil regularly to protect your nails. Apply cuticle oil after using a 4-way nail buffer to hydrate the nails and prevent them from becoming dry and brittle.
- Use a base coat: Before using any nail polish, apply a base coat. This protects your nails from the chemicals in the nail polish and prevents staining.
Common Nail Buffing Mistakes
You shouldn’t ditch buffing during your nail care routine because it removes nail surface irregularities and promotes healthy growth.
But again, it’s possible to make some common nail buffer mistakes that can damage the nails. Here are a few of the most common mistakes:
- Using a harsh buffer: If your buffer is too harsh for your nails, it may damage the nail plate. So, be particular about choosing a gentle one.
- Buffing too much: Over-buffing weakens the nails, making them thin and brittle.
- Ditching the base coat: Applying a base coat before buffing will protect the nails from damage. It also makes it easier for the buffer to glide smoothly over the smooth nail surface.
- Using a dirty buffer: A dirty buffer will transfer bacteria and germs onto the nails. So, cleaning your buffer regularly is a vital hygiene tip.
- Buffing in the wrong direction: Using a back-and-forth motion to buff nails may separate the layers of the nail plate. Move in a single direction only.
- Buffing too hard: Buffing too hard causes heat and friction. These can damage the nail and also hurt.
- Buffing wet nails: Buffing wet nails is a big mistake. Avoid it.
It makes nails weaker and more prone to damage. Wait until they are dry before buffing.
Conclusion
“How do you use a 4-way nail buffer?” should now be an easy question for you to answer. We went over each of the four sides (grits), coarse, medium, fine, and super fine, and gave you some tips on how to properly buff. With our advice, your friends and family will think you have professionally done nails everytime you meet.
The best way to get good at using the tool is to practice, so don’t be afraid to put that nail buffer to use. Its best to be patient, and take it one nail at a time – and remember – take note of the four sides, and be gentle when buffing. It’s that easy!