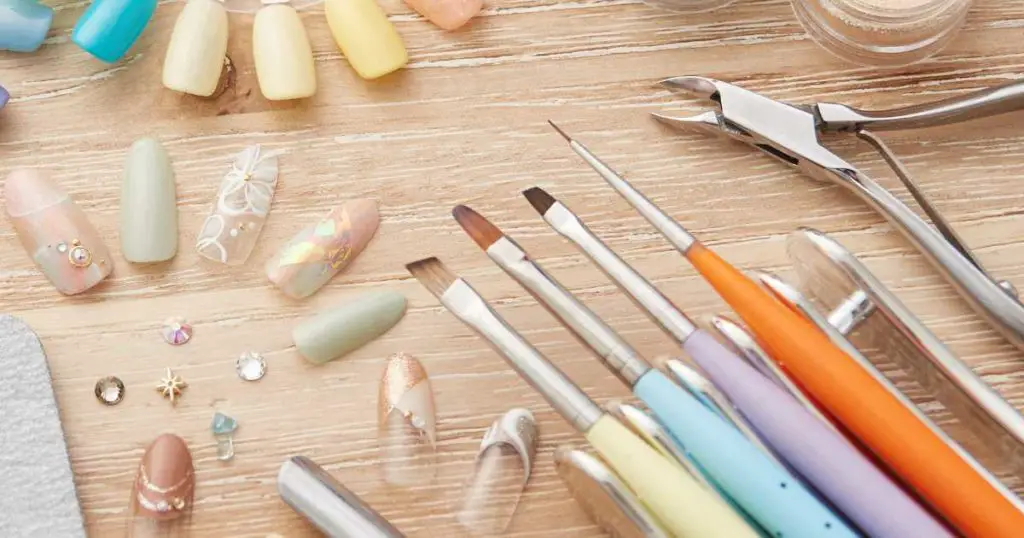
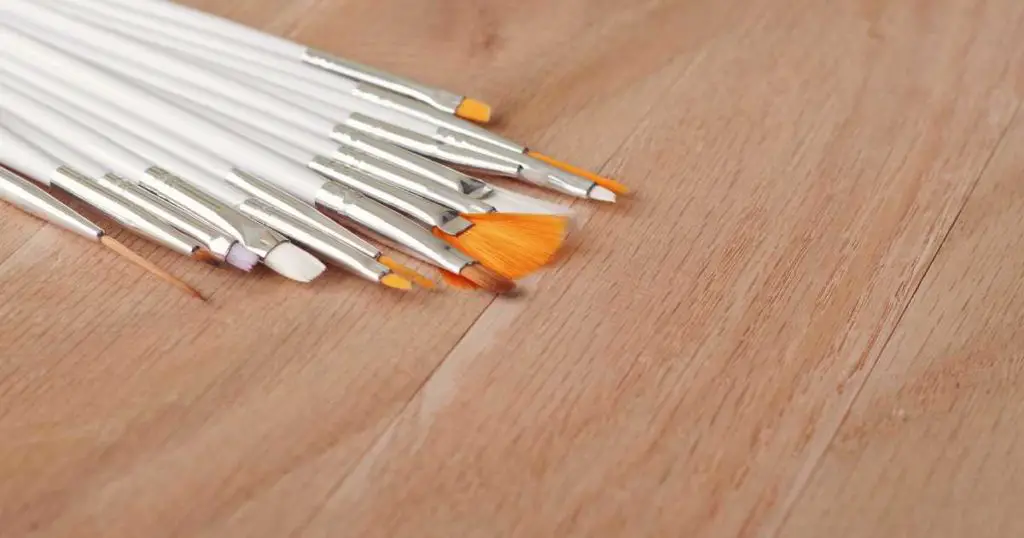
With the right kind of nail art brushes, you can create some fantastic acrylic nail designs.
If you want to create beautiful acrylic nail designs, it’s crucial that you make sure that you take good care of all your nail tools, especially if you spend money on the expensive ones!
When you take care of your equipment, you will find that it will last for years. You’ll be able to keep creating intricate designs years down the road.
Keeping your gel or acrylic nail brushes in good shape isn’t overly difficult, it’s just as easy as keeping your nails in good shape.
Keep reading for the best tips on how to clean nail art brushes.
Why Is It Crucial to Keep Acrylic or Gel Nail Art Brushes Clean?
You’ll find that not only are dirty acrylic or gel brushes unhygienic, but they don’t perform as well as they should.
You’ll also discover it becomes much harder to produce an eye-catching nail design when your tools aren’t in great shape.
If you aren’t willing to clean your gel brushes or acrylic brushes regularly, it will only make controlling their strokes and movements with precision that much harder. Do we really need life to be more difficult?
Just think how frustrated you get when you find it hard to open a nail polish bottle because the lid is stuck. Keeping your tools in good condition makes every step of the nail art process easier and more enjoyable.
Pro Tip: It’s best to keep acrylic or gel nail brushes organized upright in a dedicated case or holder and not touching a surface where possible (such as a desk or table) to prevent them from accumulating unneeded dust and debris.
Tips On How to Clean Nail Art Brushes and Acrylic Brushes

Below are some of the most effective ways to clean the brushes you use when it comes to creating wonderful nail art designs.
Best Cleaning Process For Acrylic Nail Brushes
The best method to use for cleaning synthetic acrylic nail brushes is with the same monomer you use on the nail extension.
You may need to use acetone cleaner sometime if everything else you’ve tried hasn’t worked. Regularly wiping them with a monomer after each use is the best way to keep brushes hygienic.
So, what steps should you take to keep your brushes looking and working like new?
Step 1 – Everyday Clean
Following each use, you need to clean the nail brushes with a lint-free cloth and monomer.
Many nail artists choose to use acrylic or monomer nail liquid over conventional brush cleaning products. This is because they tend to be a great deal gentler on the brush bristles.
Regular cleaning is your first line of defense against dirty brushes!
You can also use acetone nail cleaner on these types of brushes if you want. Don’t use it too often since it can cause the bristles on these brushes to dry out.
This is why we recommend you use monomer liquid whenever possible to clean your nail art brushes.
It is best to use a good quality non-acetone nail polish remover at all times to help remove any product left on the bristles of synthetic nail brushes.
Occasionally you might find you have more stubborn product build-up you need to remove. To get rid of it, you will need to do the following.
Step 2 – Removing Product Build-Up
Fill a shallow dish with monomer nail liquid to clean the brushes thoroughly.
Now place the brushes (only the bristles) into the glass dish of monomer and then leave them to soak in it.
You may find you need to leave the brushes in the monomer liquid for anywhere from two hours to overnight. It all depends on how stubborn the acrylic product is.
Now take the synthetic nail brushes out of the liquid and rinse them gently using warm water. Then lay them flat on a clean paper towel or a lint-free cloth, allowing them to dry completely.
As soon as they are dry again, place them in some new monomer nail liquid and leave them there for two hours.
After this time, rinse the nail art brushes using warm water, place them on a clean paper towel or a lint-free pad, and level them to dry.
You will find that this process will help to remove any general build-up of gel polish products on your brushes.
If the build-up on the brushes has formed into clumps, it could be that the acrylic mix you are using isn’t quite right. You may need to read through the instructions to ensure that your acrylic consistency is correct.
Best Way to Clean Natural Acrylic Nail Brushes

The majority of high-quality nail brushes you can buy today are made using Kolinsky Sable hair. This type of hair is used to make the bristles as it tends to last longer, and nail stylists find that it can hold acrylic products much better.
You will likely find that dirty nail brushes’ delicate bristles can get damaged more easily.
If you decide to invest in these natural nail brushes, it is best never to use any acetone nail remover on them. Not only is it too harsh, but it will cause damage to the hair strands as it will remove moisture from them.
So when it comes to cleaning such natural nail art brushes, you are best off just using monomer liquid to remove the paint from brush bristles.
You can, of course, use a particular nail product for cleaning them if you wish. If you choose to go that route, just make sure that you look closely at the ingredients used to make them, as some often contain acetone.
Keep Your Brushes in Good Shape
It is important to check the condition of your nail brushes regularly. If you notice that the bristles are starting to fray or fall out, then it is essential to replace them as soon as possible.
If you don’t, you will find it much harder to create beautifully detailed nail art designs, as the brushes can no longer hold their shape.
Let’s Wrap Things Up
It is crucial to make sure that you clean your nail art brushes after each time that they have been used.
Simply swishing the brushes’ bristles in a little monomer or nail polish remover for 10 to 20 seconds is ideal. Then you need to remove any excess from the bristles by blotting them on a cotton pad or a paper towel.
To keep them in good condition, dip them in a bit of cuticle oil after cleaning them.
Also as well as cleaning the bristles of the brushes, make sure to clean the handles as well.
After doing all of this, you need to stand the brushes up in a vertical brush storage container, so the bristles are facing upwards to prevent any damage being caused to them.
We hope you have found this article helpful in showing you how to clean nail art brushes. Let us know your thoughts or questions by leaving a quick comment below.