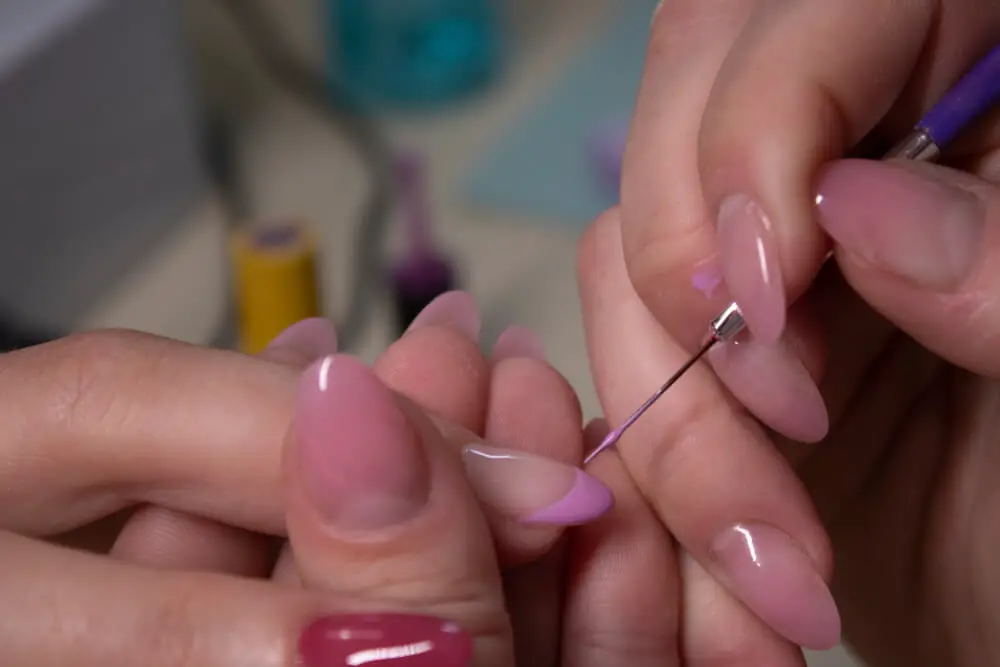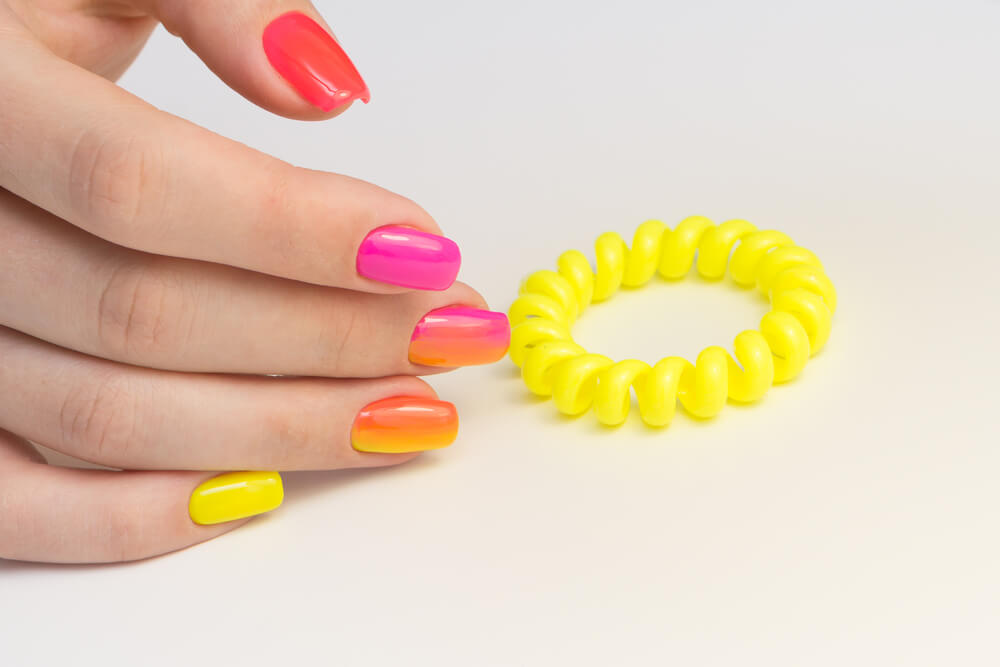
Overlay nails is the process of applying “falsies” without adding nail extensions and they can be done with either gel or acrylic.
Acrylic overlay is when acrylic powder and a liquid monomer is used directly on your natural nails while gel overlay occurs when gel coat is applied directly to your natural nails.
Both acrylic and gel overlays are done in three stages, the application of base coat, the application of the gel coat of chosen or the acrylic powder of chosen and the application of the top coat.
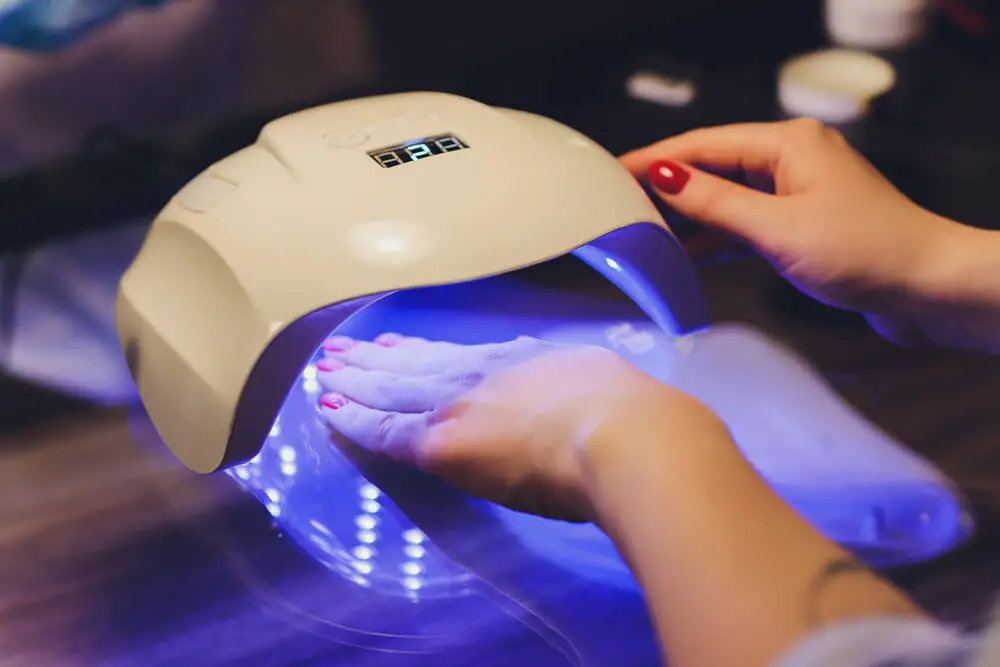
For gel overlay, every coat needs to be cured under the UV light for at least 2 minutes.
Gel overlay can also be known as soft gel; it is not strong enough to hold nail extensions hence the name soft gel.
Pros Of Gel Overlay
- It adds strength to your nails.
- It can be easily removed by soaking your nails in acetone for up to thirty minutes.
- Gel overlay causes less damage to your nails.
- More flexible and durable compared to acrylic overlay.
- Gels are stronger than acrylics.
- They come in various colours.
- Gives off a more natural look.
- Can be applied with or without a basecoat if done properly.
- It dries faster.
- They are odourless unlike acrylic overlay.
- The process of applying gel overlay is easier.
- Less filing is needed in the process.
Cons Of Gel Overlay
- It can’t add length to your nails.
- Gel overlay are more expensive compared to acrylic overlays.
- They can’t be refilled.
- Exposure to UV lights can be dangerous to the skin which might lead to cancer.
- They could be hard to find.
- Gel overlay last between 2-4 weeks.
Pros Of Acrylic Overlay
- They last longer than gel overlay.
- They are way cheaper than gel overlay.
- They are easy to access.
- They can be refilled; prolonging it’s lasting life.
Cons Of Acrylic Overlay
- It also can’t add length to your nails.
- Colours are limited.
- Acrylic overlay looks less natural
- Can’t be done without a base coat.
- It takes its time to dry off.
- They have a strong chemical odour.
- A lot of filling is required in the process leading to some nail technicians to over file, damaging your nails.
- It weakens your nail bed.
Materials needed for either a gel or acrylic overlay includes; cuticle oil, pinching tool, nail file, buffer, cotton pad, dust-free pads, brushes, gel or acrylic powder, primer, top coat and a UV light for the gel overlay.
Step By Step Application Of Gel Overlays On A Natural Nail
- Prep, clean, trim, file and buff nails according to your chosen style.
- Apply a thin layer of primer.
- Now apply a layer of base coat, cure it under a UV light for one minute.
- Apply the gel coat which is the main coat, take your time whilst at it. Ensure the gel is applied evenly over the whole area of the nails. Cure it under a UV light for another one minute.
- Shape the gel overlay to your liking by filing it to create a nice nail surface. Then buff for an extra smoothness.
- Apply a thin layer of top coat to lock the gel overlay in. Cure it under the UV light.

Step By Step Application Of Acrylic Overlays On A Natural Nail
- Nails should be prepped, cleaned, trim, filed and buffed according to your chosen style.
- Apply acetone to nails to remove any excess oil and moisture.
- Apply acrylic powder evenly to nails for a seamless finish.
- Allow the application to dry.
- Finish the look by filing nails and applying top coat for a perfect finish.

Step By Step Guide On How To Make Your Gel And Acrylic Overlay Last Longer
- Use cuticle oil frequently on cuticle and around nails for a healthy nail.
- Visit your nail technician every three weeks to get a refill or to get them re-done.
- Ensure your nail technician uses long lasting nail polish and top coat.
- Apply top coat as frequent as possible.
- Avoid biting or nails.
- Reduce the amount of times you put your fingers into water.
Procedures To Follow When Removing A Gel Overlay
- Buff your finger nails to remove the top coat.
- Soak cotton pad in acetone for about ten minutes.
- Once the cotton pad has soaked the acetone content, put it on each of your finger nails and then wrap the aluminium foil to keep them secure.
- Leave the foil on your fingers for ten to fifteen minutes.
- Once time is up remove foil and use cotton pad to remove stubborn gel off your finger nails.
- File your natural nails to desired shape.
- Moisture your nails once the gel overlay nails have completely come off.
- Apply nail strengthener after removal in order to make your natural nails stronger.
Procedures To Follow When Removing An Acrylic Overlay
- File the topcoat off your nails.
- Soak your nails in pure acetone.
- Remove any leftover acrylic overlay by buffing.
- File your natural nails to desired shape.
- Moisture your nails once the acrylic overlay nails have completely come off.
- Apply nail strengthener after removal in order to make your natural nails stronger.
Gel Overlay Vs Acrylic Overlay
In my humble opinion gel overlays are better than acrylic overlays just because they are less harmful to the nail beds.
Anyways having any type of overlay, gel overlay vs acrylic overlay helps to elevate your look, making you look rich, classy, sophisticated so it all boils down to your taste and what you want.
So gel overlay vs acrylic overlay which one will you choose and why?
Let me know in the comment section.
I hope you have learnt a few things from this blog post?
If yes, tell me what you have learnt.
I am going to go with the gel overlay. My nails are damanged from taking off press on nails and I need something that will help strengthen my natural nails. I wore acrylic nails for about 15 years and it took me a year to strengthen and bring them back to their natural state. Acrylics really weakened my nails and they would grow then break, chip and split. It was horrible. I would say that they have come back well but…using press on took them almost back to that weakened state.